The Best High-End Studio Lighting for Portraits
Understanding the Importance of Good Lighting in Portraits
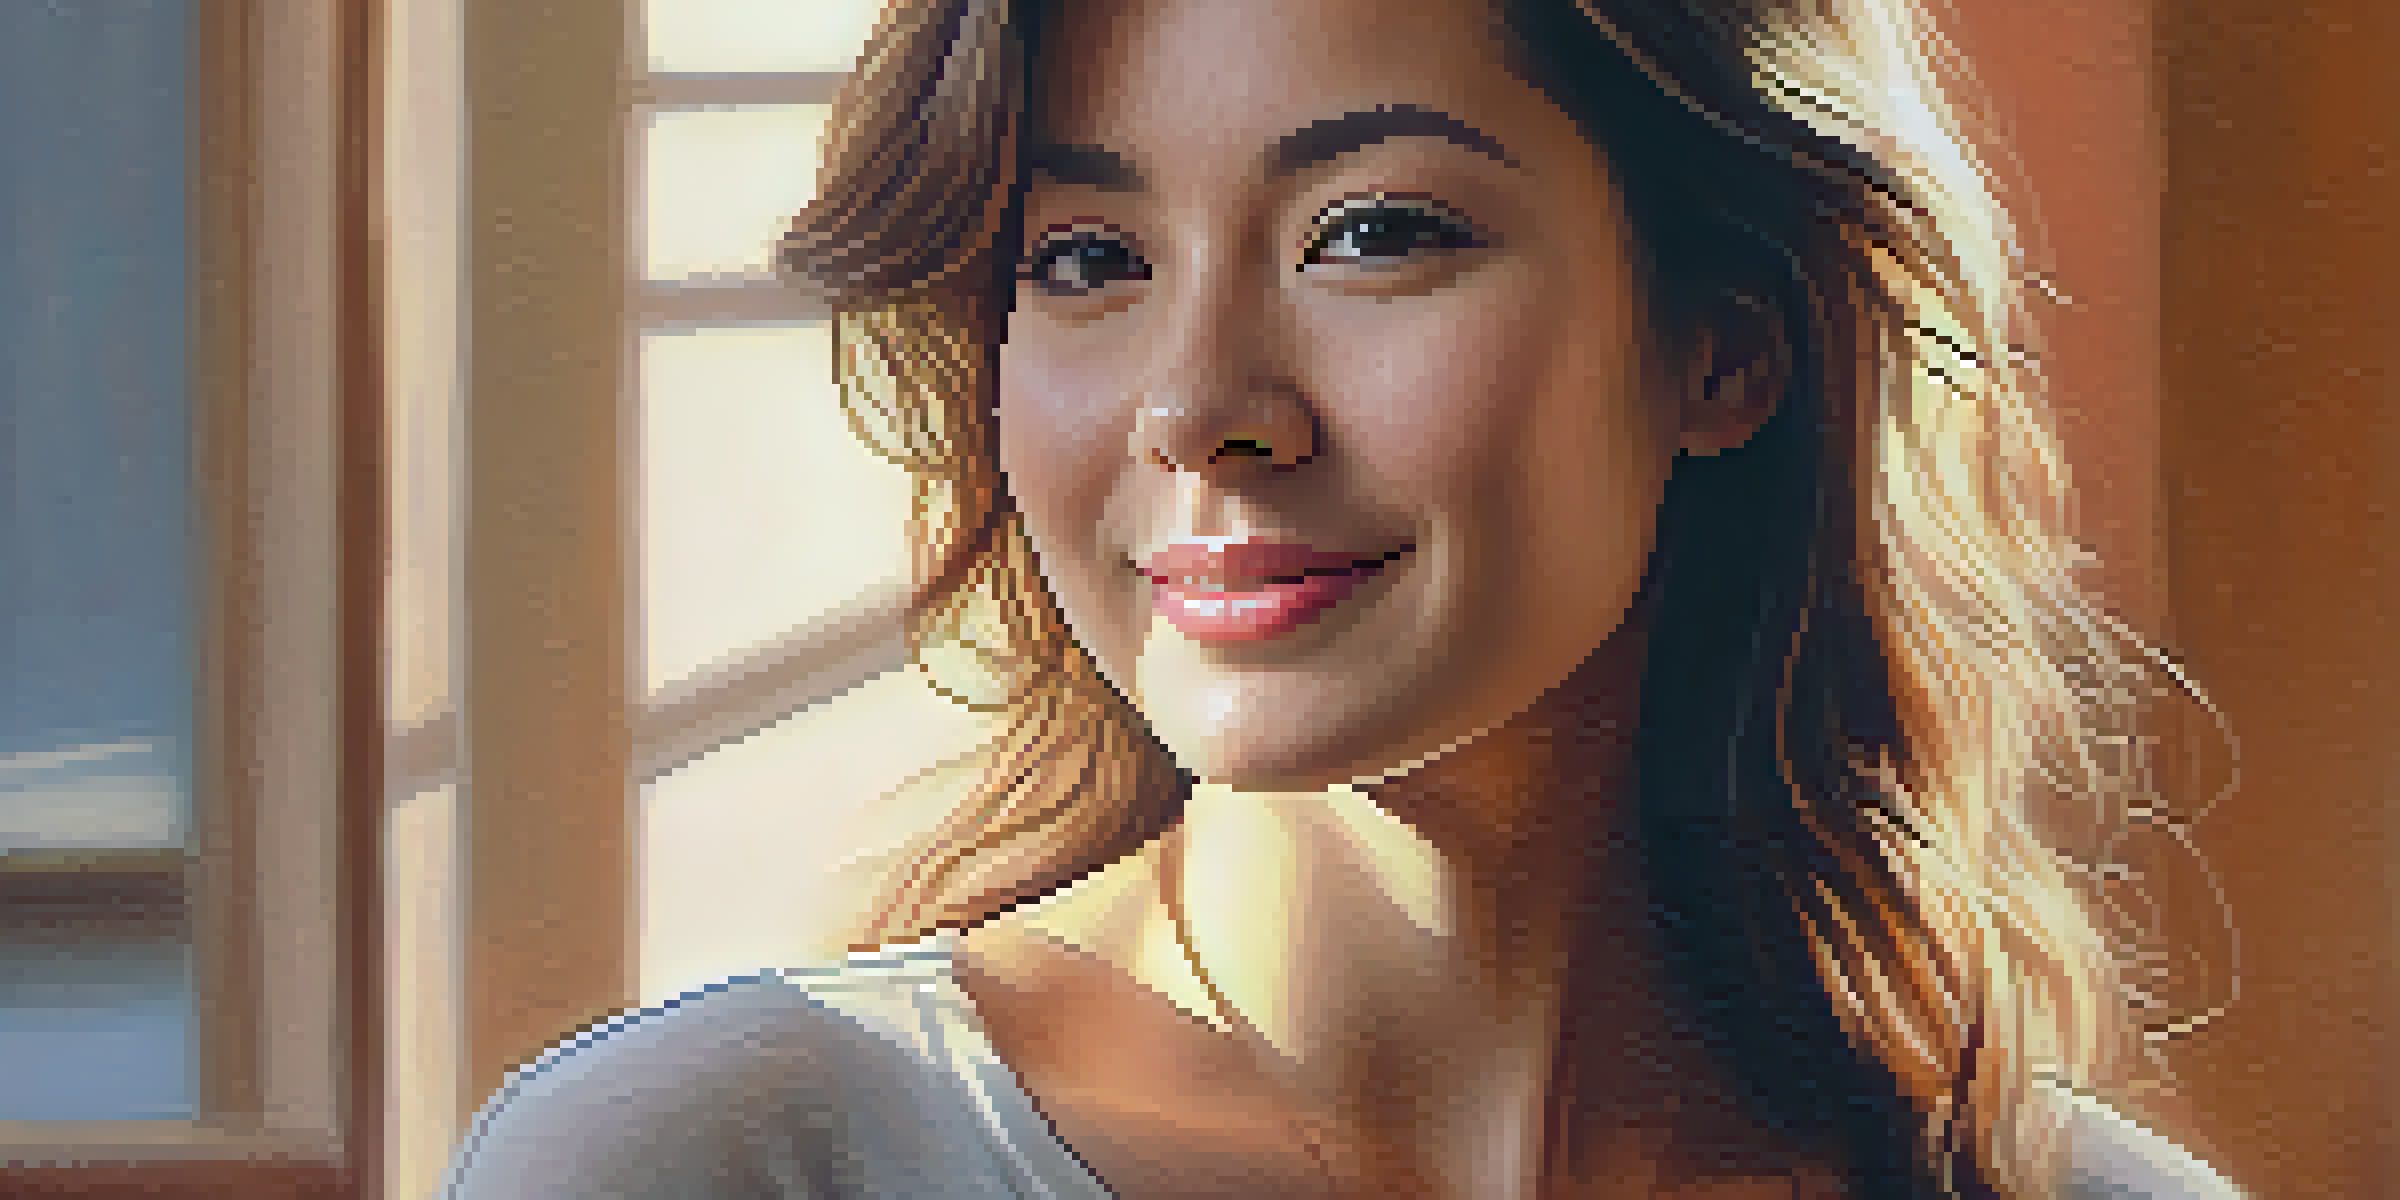
Lighting is the backbone of any stunning portrait. Without the right light, even the most skilled photography can fall flat, leaving your subject looking dull or washed out. Good lighting enhances features, creates mood, and adds depth, making your portraits truly come alive.
Lighting is not just a tool; it's the soul of the photograph.
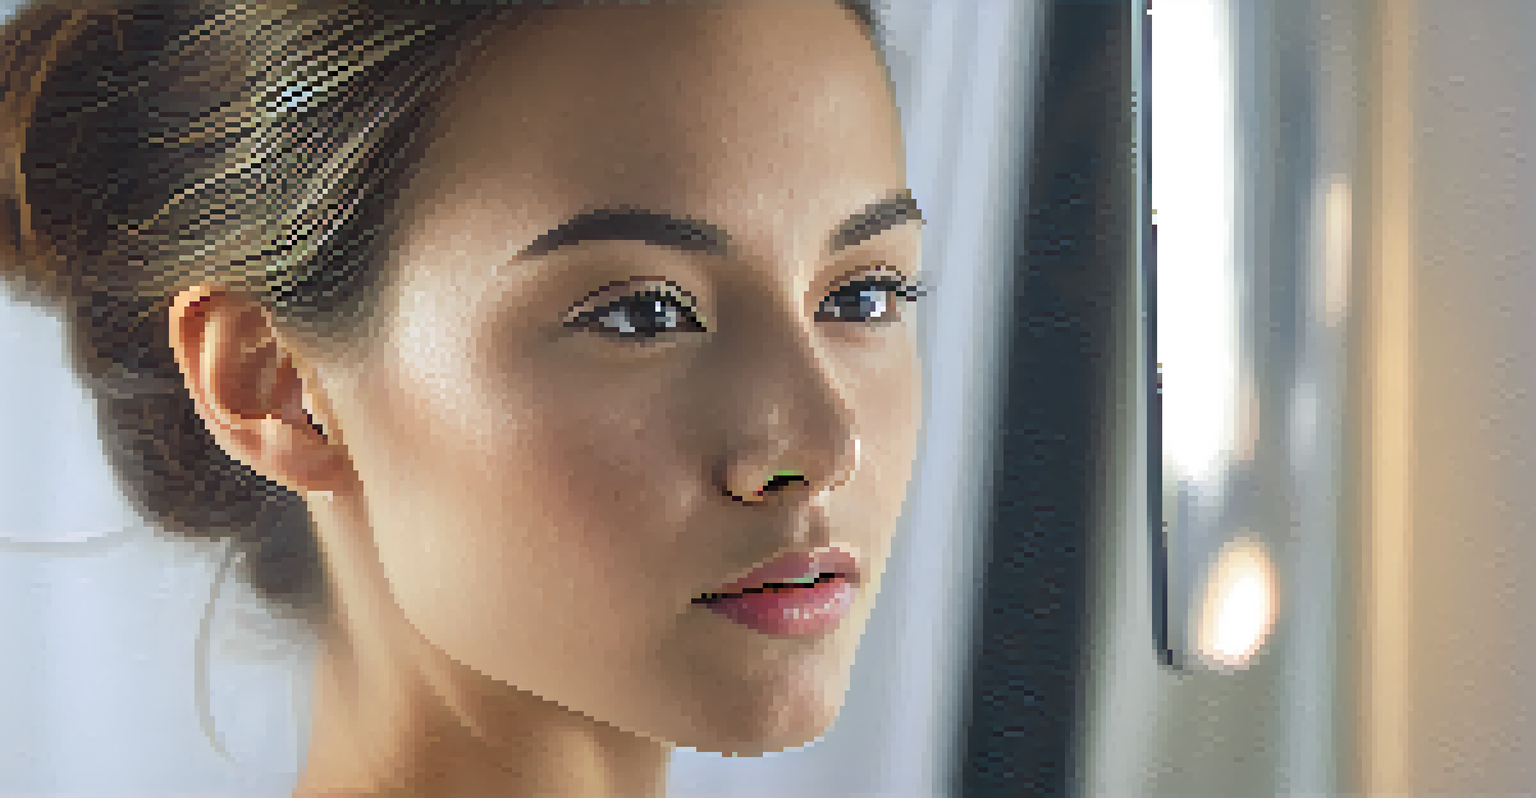
Think of lighting as the paintbrush for your canvas; it shapes the image just as much as the subject you’re capturing. Whether you're shooting in a studio or on location, understanding how light interacts with your subject's face is crucial. This knowledge allows you to manipulate shadows and highlights to your advantage.
In essence, high-quality lighting sets the stage for a captivating portrait. The right setup not only highlights your subject's unique features but also evokes emotions and tells a story, making it an indispensable tool for any serious photographer.
Key Features to Look for in Studio Lighting Equipment
When choosing high-end studio lighting, several key features should guide your decision. Look for adjustable brightness and color temperature, as these allow for more control over the lighting effects. This flexibility can transform the mood of a portrait dramatically, from soft and romantic to bright and energetic.
Portability is another important factor, especially if you plan on moving your setup frequently. Many high-end lights come with adjustable stands and easy-to-transport cases, making them ideal for both studio and on-location shoots. This convenience can save you time and effort, letting you focus more on capturing the perfect shot.
Lastly, consider the light's quality—softboxes, umbrellas, and reflectors can all contribute to a rich, even light that flatters your subjects. Remember, the goal is to create a lighting environment that enhances rather than overwhelms your portrait.
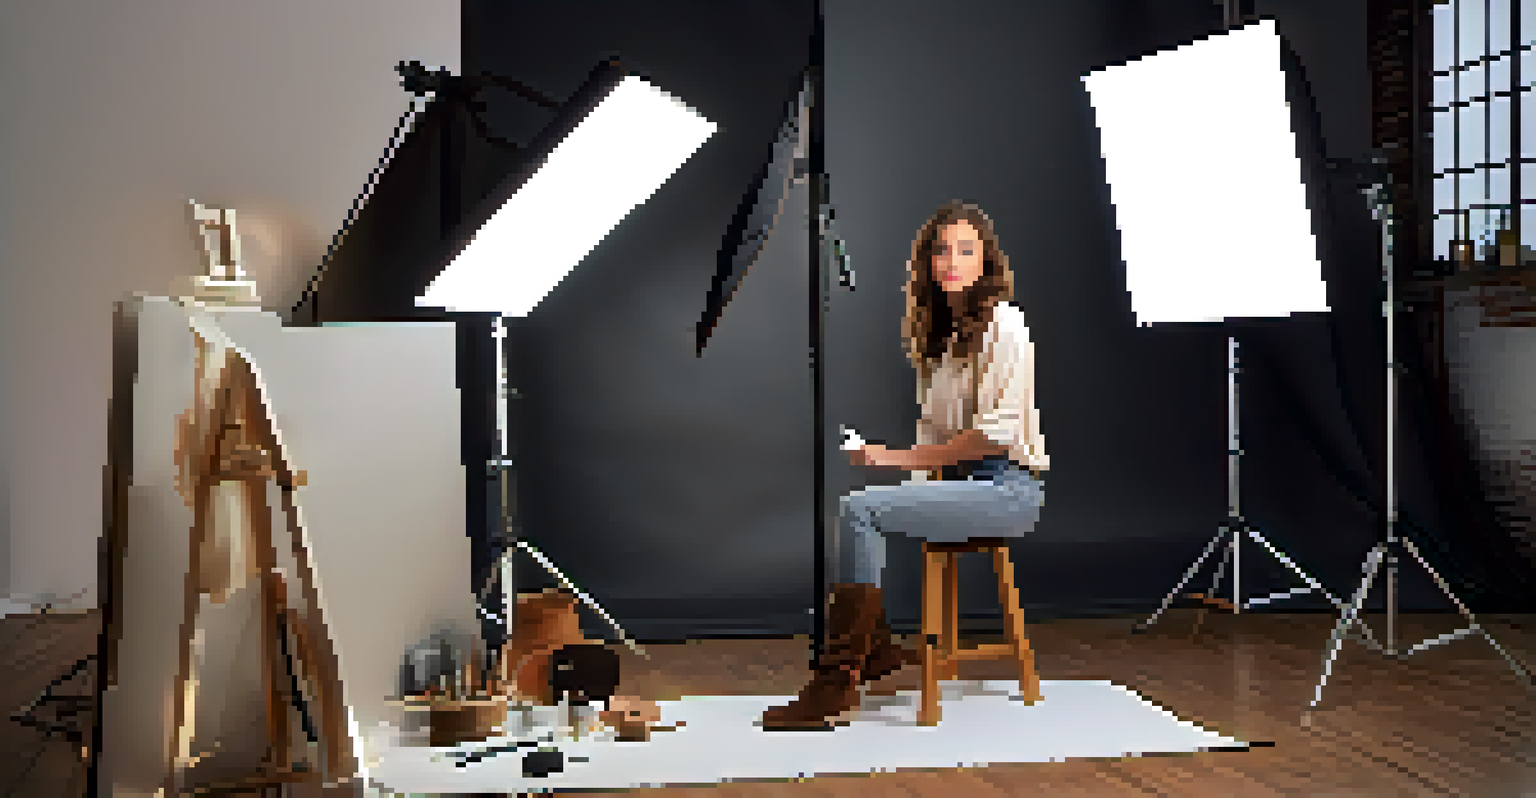
Top Picks for High-End Studio Lighting Systems
One standout option is the Profoto B10, known for its portability and powerful output. This compact light can easily fit into your backpack, yet it delivers professional-quality results with excellent color accuracy. It's a favorite among both studio and on-location photographers for its versatility.
A good photograph is knowing where to stand.
Another excellent choice is the Godox AD600Pro, which offers a great balance between price and performance. With its impressive power and fast recycling time, this light is perfect for dynamic shoots where you need to capture fleeting moments without missing a beat.
Finally, the Elinchrom ELC 500 is a great option for those seeking reliability and consistency. It features a range of built-in effects and settings that allow for creative experimentation, making it a fantastic addition to any professional photographer's toolkit.
Softboxes vs. Umbrellas: Which is Right for You?
When it comes to modifiers, softboxes and umbrellas are two popular options, each with its own strengths. Softboxes provide a more controlled, focused light that reduces spill and allows for precise shaping, which is perfect for detailed portraits. They create a soft, flattering light that wraps around your subject beautifully.
On the other hand, umbrellas are lightweight and incredibly easy to set up, offering a quick solution for those on the go. They can produce a broader light spread, making them ideal for full-body shots or larger groups. Plus, they often come at a lower price point, making them accessible for photographers at any level.
Ultimately, the choice between softboxes and umbrellas depends on your shooting style and the effects you want to achieve. Experimenting with both can help you discover which modifier best suits your creative vision.
The Role of Lighting Accessories in Portrait Photography
Lighting accessories like reflectors, diffusers, and gels can take your portrait photography to the next level. Reflectors bounce light back onto your subject, filling in shadows and adding dimension. They're typically inexpensive and can make a significant difference in the final image.
Diffusers, on the other hand, soften harsh light, creating a more flattering effect on skin tones. When shooting outdoors or with strong artificial lights, a diffuser can help maintain a natural look, ensuring your portraits don't appear overly harsh or artificial.
Lastly, gels allow you to manipulate color in your lighting setup, adding creative flair to your portraits. Whether you want to mimic sunset hues or create dramatic contrasts, gels are a simple yet powerful tool to express your artistic vision.
How to Set Up Your Studio Lighting for Portraits
Setting up your studio lighting doesn't have to be daunting. Start by positioning your key light at a 45-degree angle to your subject, which creates flattering shadows and highlights. This classic setup is often referred to as the
as it mimics natural light falling on the subject's face.
Next, consider adding a fill light to soften shadows created by the key light. This light should be less intense and can be placed on the opposite side of your key light. The goal is to ensure your subject’s features are well-defined without harsh contrasts that can detract from the portrait's overall appeal.
Finally, don’t forget to experiment with your background lighting. Adding a hair light or rim light can help separate the subject from the background, adding depth and visual interest to your portraits. The key is to adjust and test different configurations until you achieve the desired effect.
Common Mistakes to Avoid with Studio Lighting
Even seasoned photographers can fall into common pitfalls when it comes to studio lighting. One major mistake is relying too heavily on a single light source. While it can be tempting to keep it simple, using multiple lights can create a more dynamic and professional-looking portrait by adding depth and interest.
Another frequent error is neglecting the distance between the light and the subject. Too close can create harsh shadows and overexposed highlights, while too far can result in a flat image lacking dimension. Finding the right distance is crucial for achieving that perfect balance in your lighting setup.
Lastly, many photographers forget to consider the color temperature of their lights. Mixing different types of lighting can lead to color casts that detract from the quality of your portraits. Stick to consistent light sources or use gels to balance everything out for a professional look.