Perfecting Chocolate Tempering: Techniques for Confectionery
Understanding the Importance of Chocolate Tempering
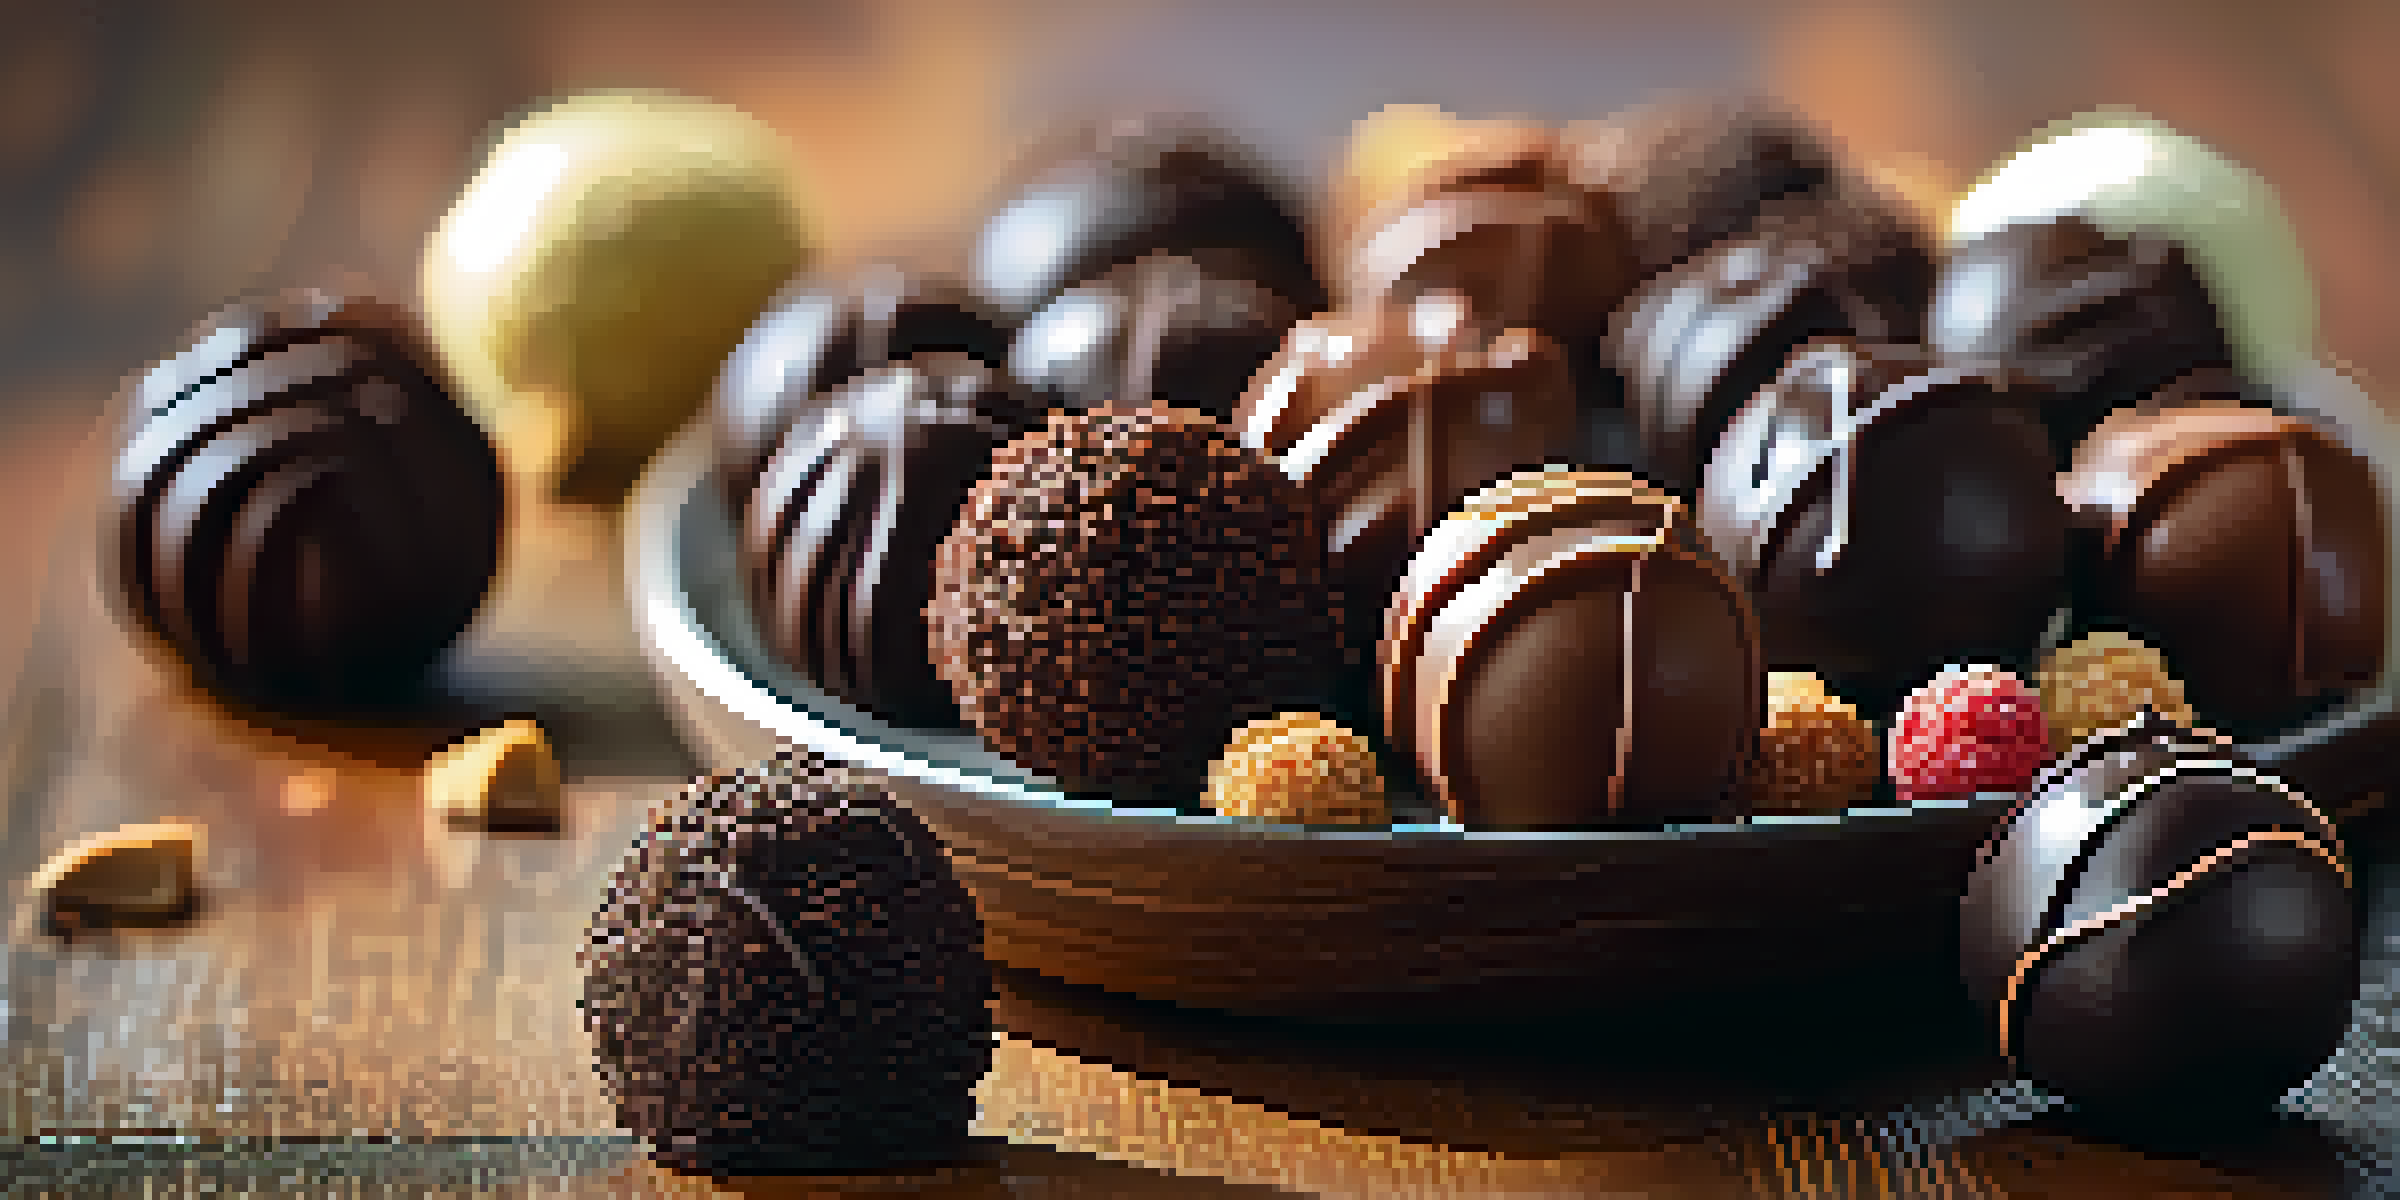
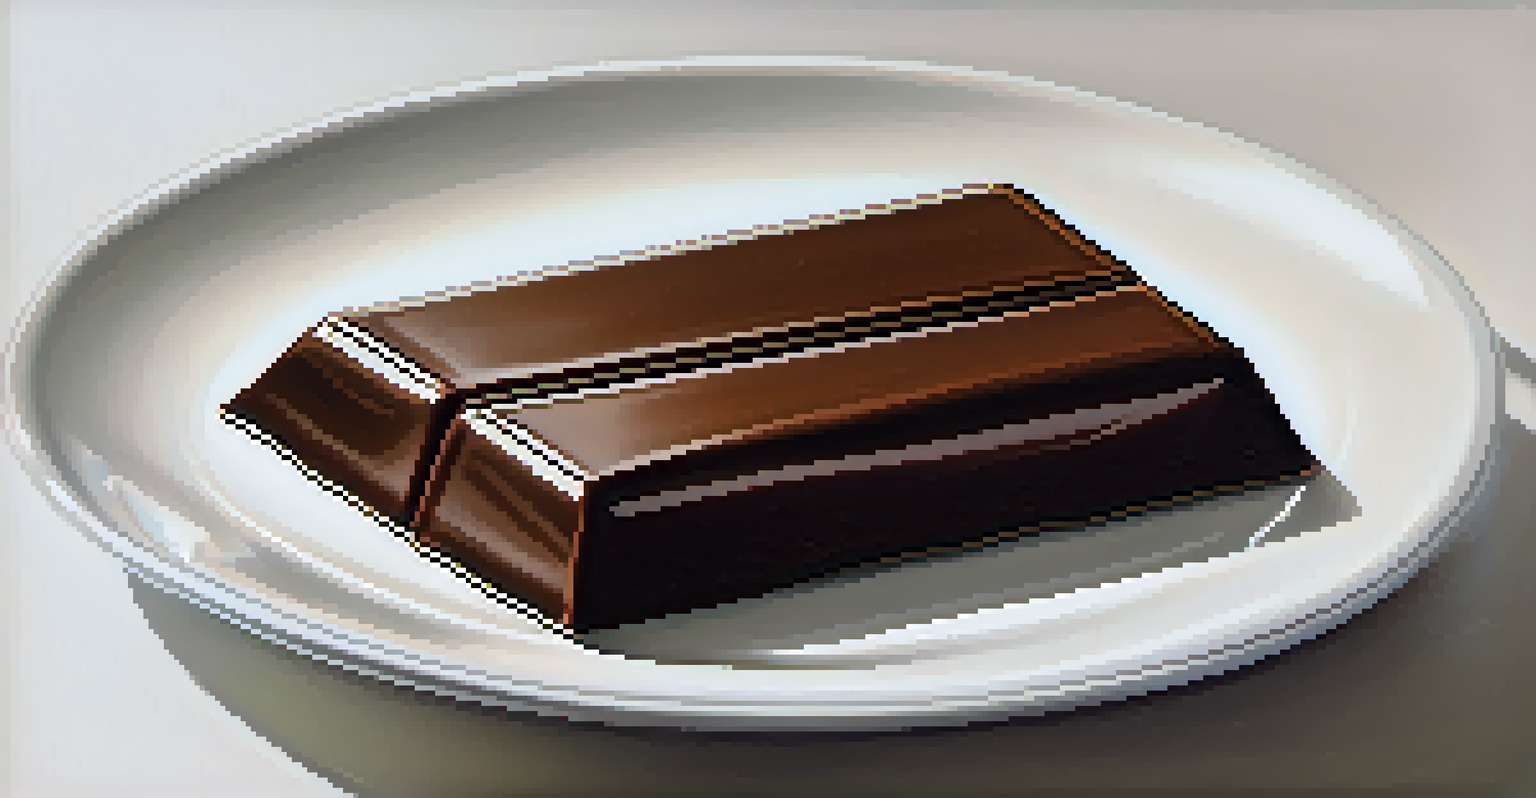
Chocolate tempering is a crucial step in confectionery that ensures your chocolate has a beautiful sheen, a satisfying snap, and a smooth texture. When chocolate is tempered correctly, it crystallizes in a way that enhances its flavor and mouthfeel. This process prevents the dreaded 'bloom,' which occurs when cocoa butter rises to the surface and leaves your chocolate looking dull and unappetizing.
Chocolate is the answer. Who cares what the question is?
Imagine biting into a chocolate truffle that’s perfectly tempered—the glossy exterior glistens in the light, and the rich flavor bursts in your mouth. In contrast, improperly tempered chocolate can be grainy and unappealing. Therefore, understanding the science behind tempering is not just a culinary skill; it's an art form that elevates your confectionery creations.
Whether you're a seasoned chocolatier or a home baker, mastering chocolate tempering is essential for creating delicious treats that look as good as they taste. By learning the techniques and principles of tempering, you’ll ensure that every chocolate piece is a delightful experience for your taste buds.
The Science Behind Chocolate Tempering
At its core, chocolate tempering involves carefully controlling the temperature of melted chocolate to encourage the formation of stable crystals. Chocolate is made up of cocoa solids, cocoa butter, and sugar, each component playing a role in the final texture and taste. The key to tempering is to manage the temperature so that the cocoa butter crystallizes into a stable form known as beta crystals.
When chocolate is melted, the cocoa butter separates into different crystal structures. Only the beta crystals provide the desirable characteristics of tempered chocolate, including a shiny surface and crisp snap. This process can feel a bit like a chemistry experiment, but once you understand the basics, it becomes much easier to execute.
Tempering Ensures Chocolate Quality
Proper chocolate tempering enhances its sheen, snap, and overall flavor.
By heating and cooling the chocolate to specific temperatures, you guide the cocoa butter to form those stable beta crystals. This knowledge is the foundation of creating professional-quality chocolate that stands out for its taste and appearance.
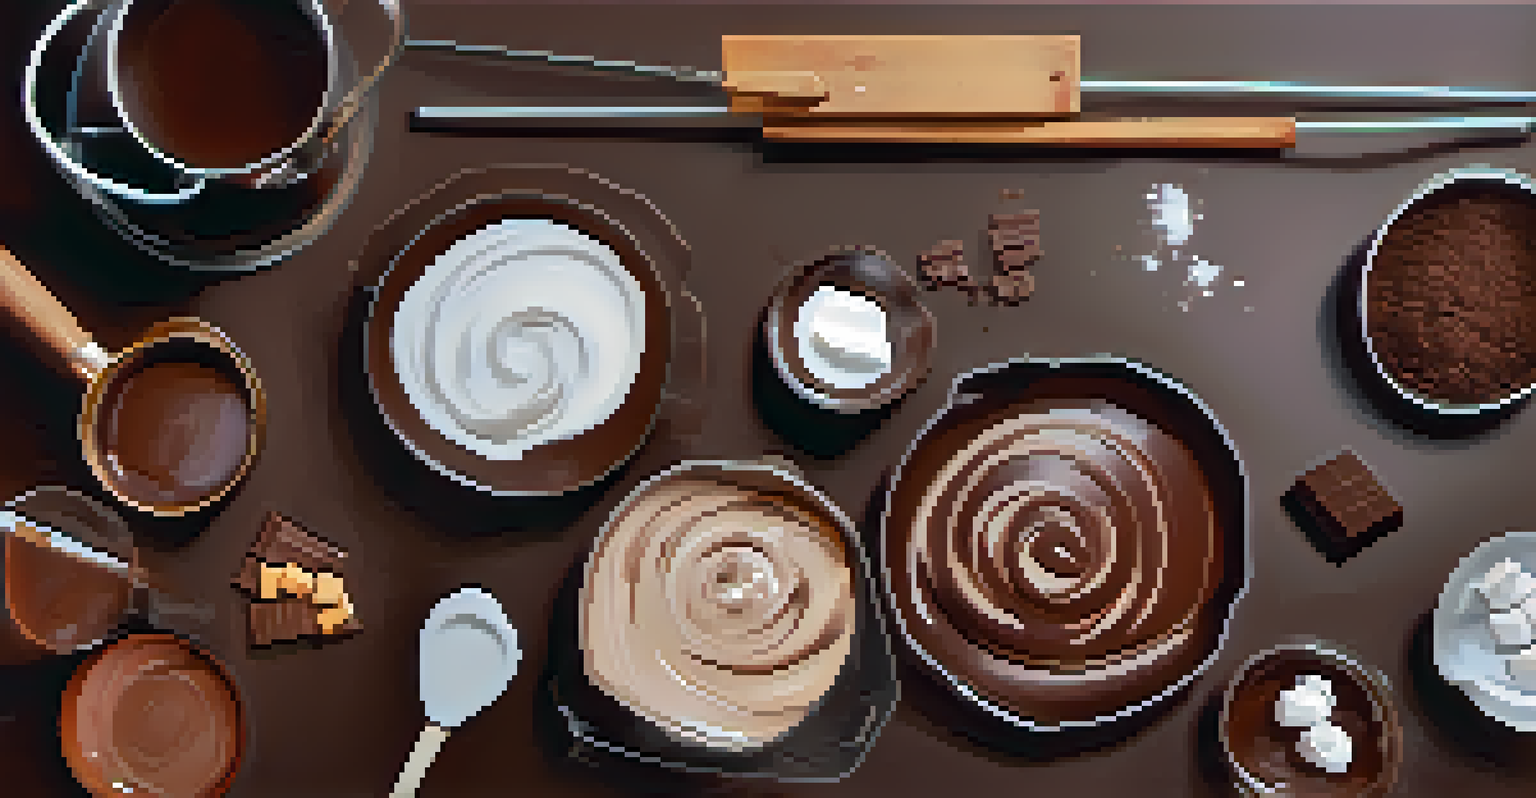
Tools Required for Successful Tempering
To successfully temper chocolate, you’ll need a few essential tools. A good quality thermometer is crucial since chocolate tempering relies heavily on precise temperature control. Digital thermometers are particularly handy because they provide quick and accurate readings, ensuring you hit the right temperatures.
Life is like a box of chocolates. You never know what you're gonna get.
In addition to a thermometer, a heatproof bowl or a double boiler will help you melt the chocolate evenly. You might also consider a marble slab or a silicone mat for the seeding method, where you cool the chocolate by adding small pieces of solid chocolate to it. These tools will make the process smoother and more enjoyable.
Lastly, a spatula is essential for stirring the chocolate during the tempering process, helping to distribute the heat evenly and promote the formation of those all-important beta crystals. With the right tools at hand, you'll be well on your way to creating beautifully tempered chocolate.
Different Methods of Chocolate Tempering Explained
There are several methods for tempering chocolate, each with its advantages. The most common methods include the seeding method, tabling method, and microwave method. The seeding method involves melting chocolate and then adding small pieces of tempered chocolate to help establish stable crystals.
The tabling method is a bit more hands-on; it requires pouring melted chocolate onto a cool marble surface and working it with a spatula. This method can be quite effective but requires some practice to master. Finally, the microwave method offers a quick and convenient way to temper chocolate, which is ideal for beginners or those short on time.
Temperature Control is Crucial
Maintaining specific temperature ranges is essential for forming stable beta crystals in chocolate.
Each method has its pros and cons, so it’s worth experimenting to find which one works best for you. Regardless of the method you choose, the key is to maintain the right temperatures to achieve that perfect, glossy finish.
Temperature Ranges for Perfect Chocolate Tempering
Understanding the specific temperature ranges for different types of chocolate is essential for successful tempering. Dark chocolate typically needs to be heated to around 120°F (49°C) and then cooled to about 88°F (31°C) to achieve proper tempering. Milk and white chocolates have lower temperatures, usually starting at about 110°F (43°C) and cooling to around 86°F (30°C).
These temperature ranges are crucial because they encourage the formation of stable beta crystals while preventing the chocolate from becoming scorched or burnt. Using a thermometer to monitor these temperatures is non-negotiable if you want to achieve that glossy, professional finish.
By sticking to these temperature guidelines, you’ll be able to create beautifully tempered chocolate that not only looks stunning but also has the perfect snap and melt-in-your-mouth texture.
Common Mistakes to Avoid When Tempering Chocolate
Even seasoned chocolatiers can encounter pitfalls when tempering chocolate, so it’s essential to be aware of common mistakes. One major error is overheating the chocolate, which can cause it to lose its temper and become unworkable. Always monitor your temperatures closely and remove the chocolate from heat as soon as it reaches the desired temperature.
Another mistake is not stirring enough. Stirring helps to distribute the heat evenly and promotes the formation of stable crystals. If you neglect this step, you might end up with unevenly tempered chocolate, resulting in a less-than-ideal texture.
Avoid Common Tempering Mistakes
Being aware of pitfalls like overheating and moisture can help achieve perfectly tempered chocolate.
Lastly, be cautious about adding moisture to chocolate, as even a tiny amount can cause it to seize. Make sure your tools are dry, and avoid exposing your chocolate to steam. By steering clear of these common pitfalls, you’ll be on your way to perfecting your chocolate tempering skills.
Storing Tempered Chocolate for Optimal Freshness
Once you’ve perfected your tempered chocolate, it’s important to store it properly to maintain its quality. Tempered chocolate should be kept in a cool, dry place away from direct sunlight to prevent melting or blooming. Ideally, a temperature range of 60°F to 70°F (15°C to 21°C) is best for storing chocolate.
Avoid refrigerating tempered chocolate, as the moisture can cause it to lose its sheen and texture. Instead, store it in an airtight container to keep it fresh and protect it from odors, which chocolate can easily absorb. If you need to store chocolate for an extended period, consider wrapping it in parchment paper before placing it in an airtight container.
By following these storage tips, you’ll ensure that your beautifully tempered chocolate remains delicious and visually appealing for as long as possible, ready to be enjoyed whenever the craving strikes.